Many screencasts are recorded from the user's point of view. This can mean there is a wide area for the viewer's
eyes to wander. If the viewer is not looking in the right place, important details may be missed. Additional
visuals, or well-planned framing, can also help focus the viewer's attention.
Cropping the Window
The video's framing can help control the viewer's gaze. By directing the viewer's gaze, the video creator can remove the distance between the author and the audience (Rose 2012, 164). This further lets the viewer feel like they are performing the actions that are shown in the video. Adjusting the framing can keep the viewer from being distracted by other items on the screen, while still letting the viewer feel like they are using the application. There are several methods of framing to choose.
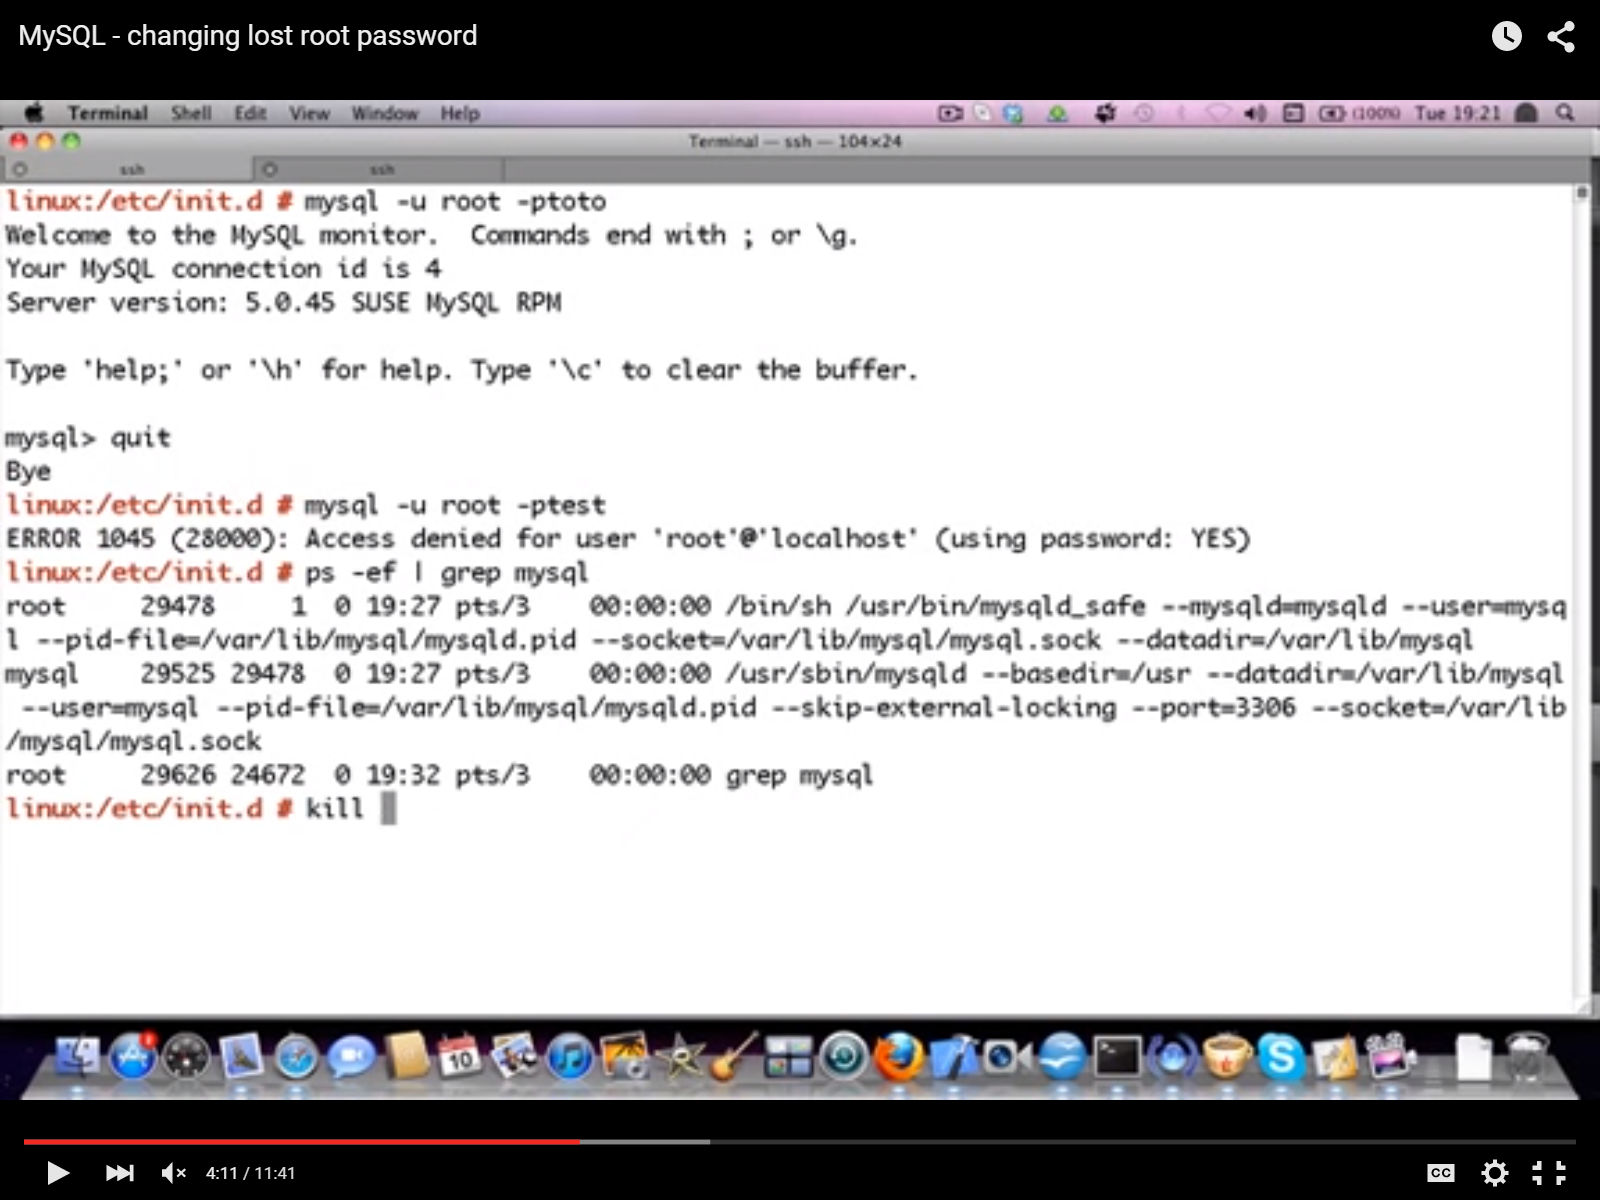
(#6)The Whole Window - This type of view shows the entire screen, with nothing removed. Features of the operating system, such as the dock or taskbar, are shown even though they are not used throughout the video. This unedited view can help orientate the viewer. It also may be necessary if multiple applications are being used at one time. However, it could also be distracting to the viewer if irrelevant items are on the screen.
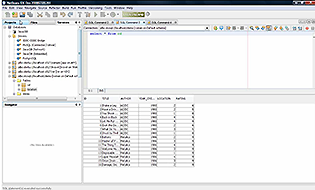
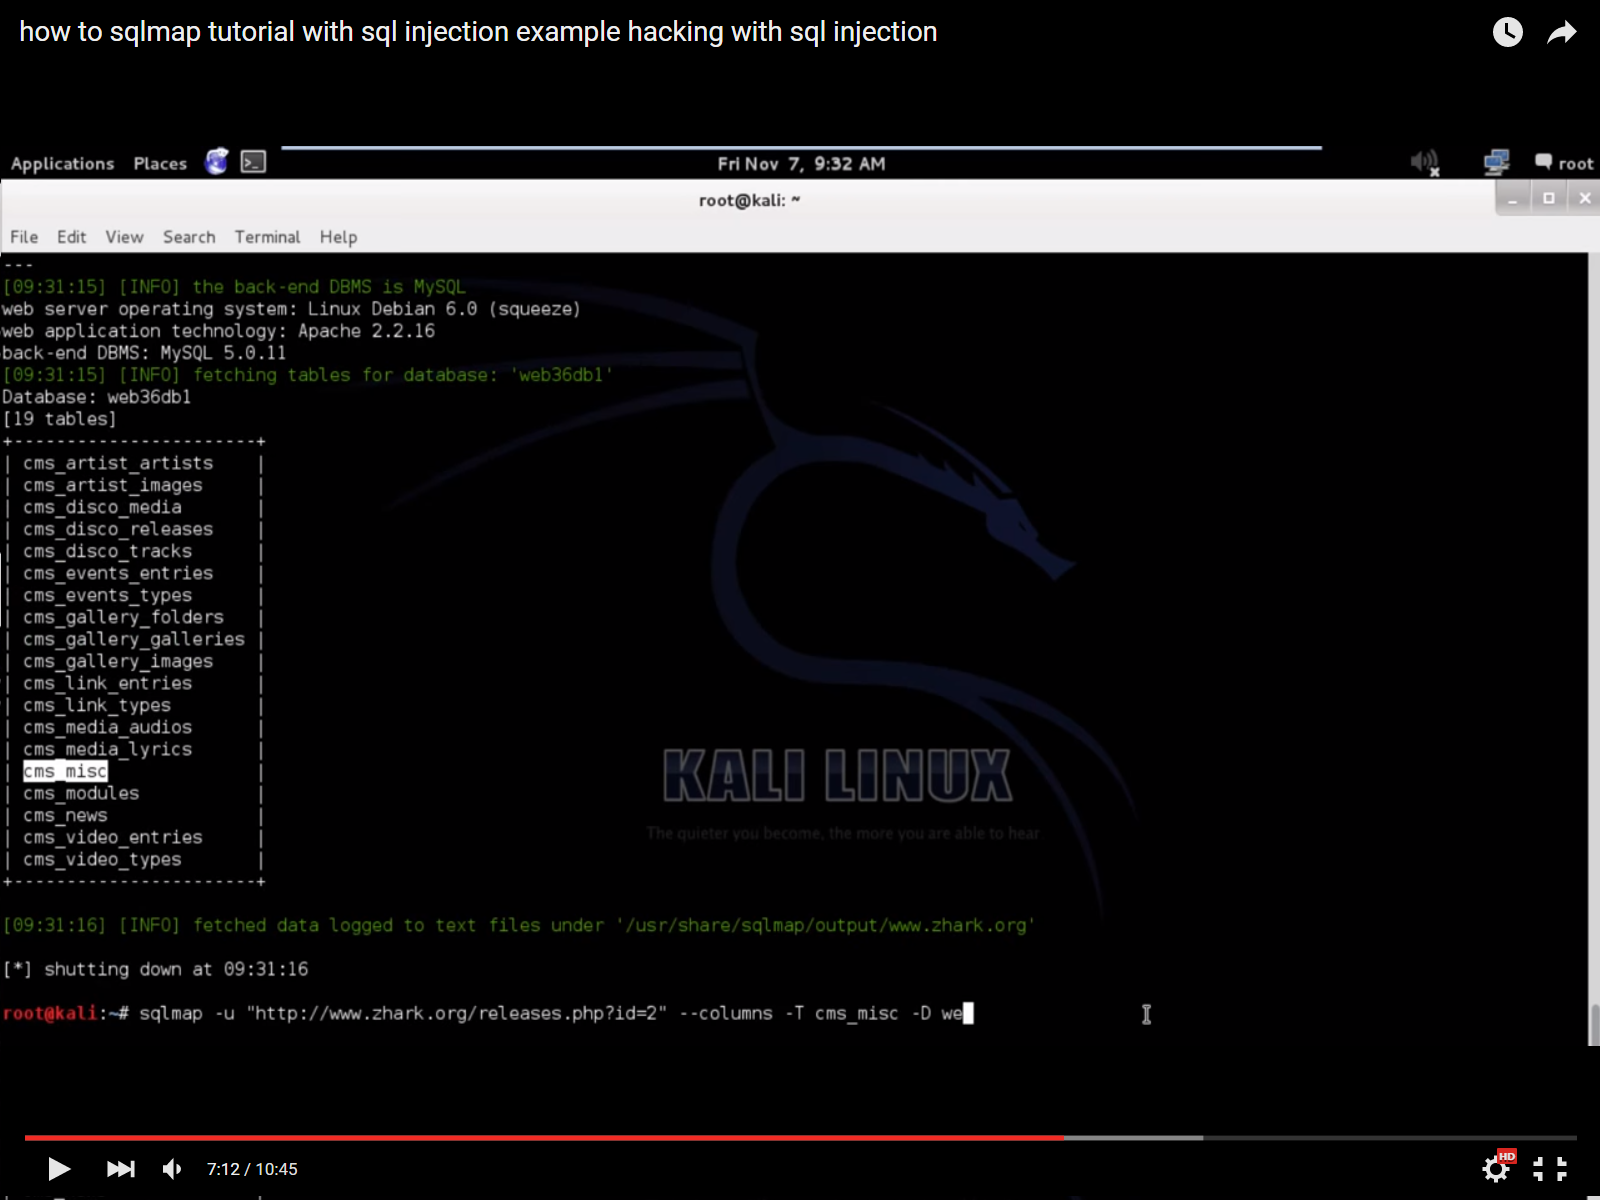
(#16)Program Focused - It is possible to show only one program to the viewer of a screencast. This can be useful if the program is the only one needed to be used, such as when showing actions in the command prompt or Visual Studio. The viewer will be unable to see any of the operating system interface, or any other running programs. This gives the ultimate ability to focus the viewer's attention on the application being demonstrated.
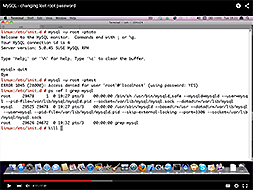
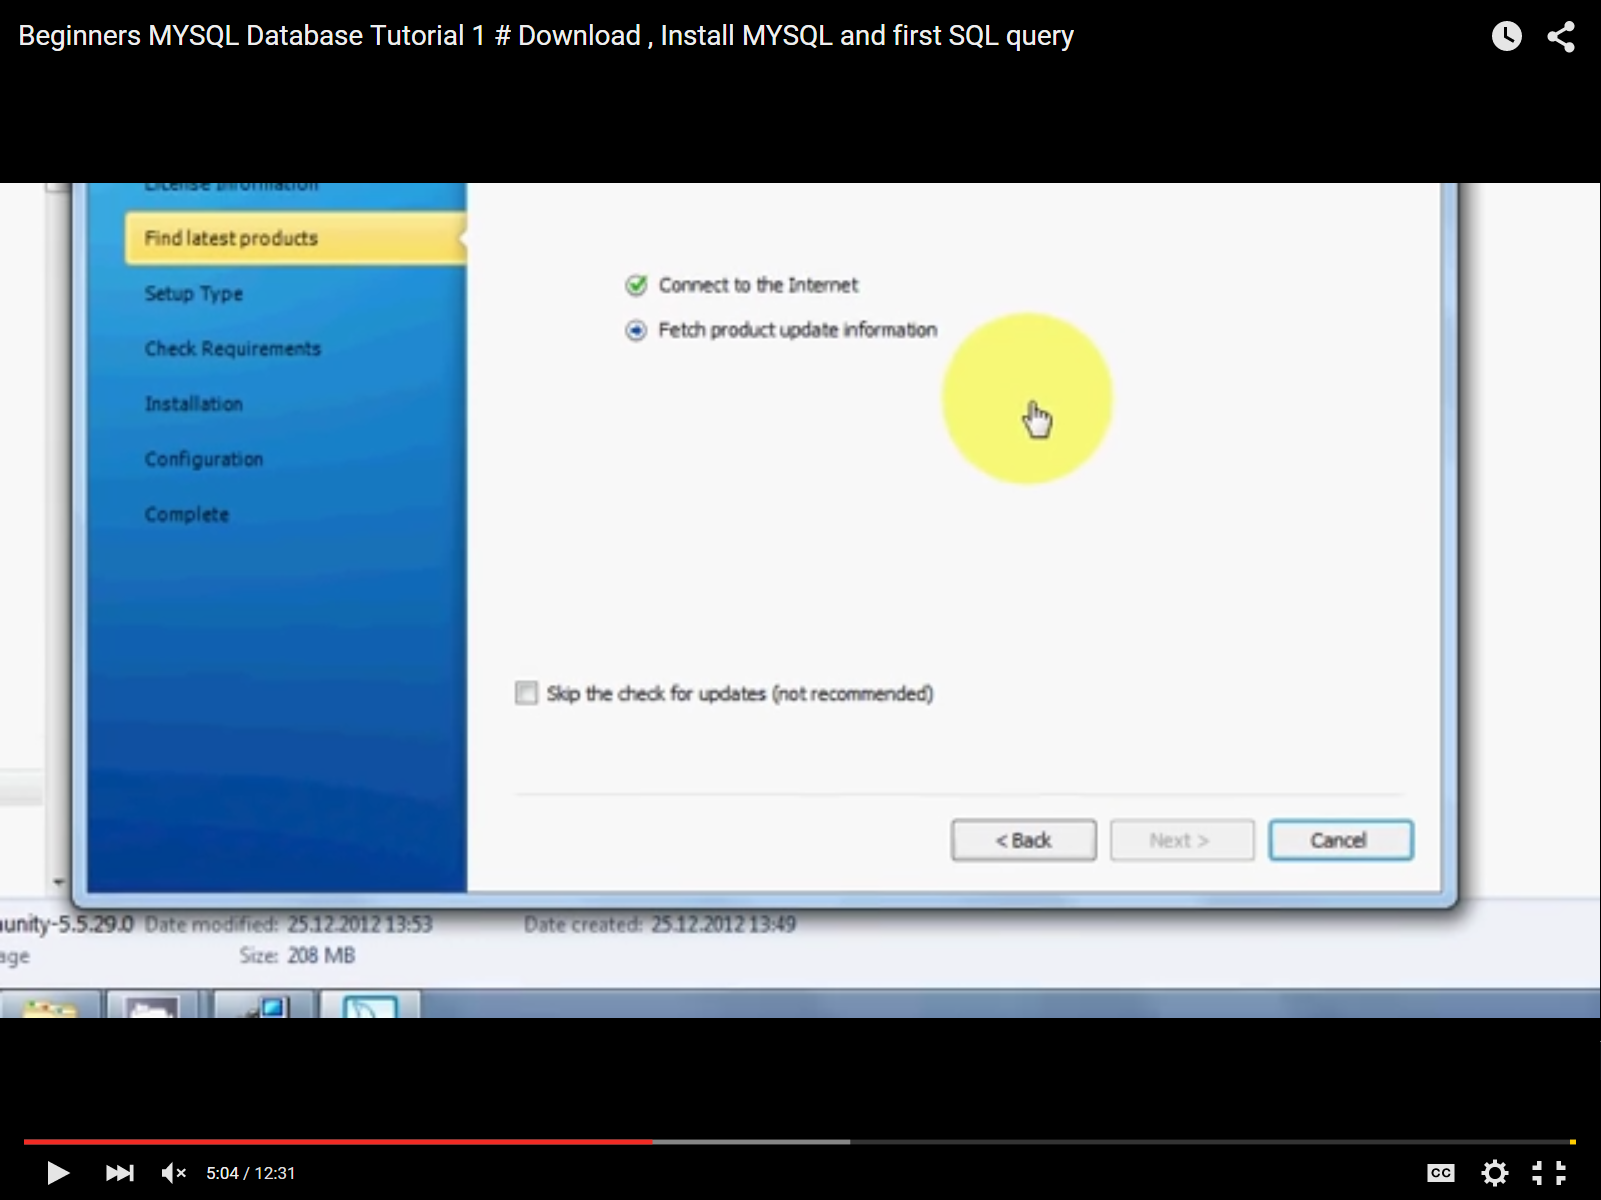
(#7)Screen Cropping - The video can be cropped so that only a relevant section of the screen is shown. For instance, an installation program may have multiple windows that open, but these windows always open in the middle of the screen. The video can be cropped to only show the middle of the screen, so the viewer is only focusing on where the installation program appears.
(#14)Zooming - The video may zoom in towards a relevant part of the screen, and then zoom out or pan to another location when the viewer needs to focus somewhere else. This provides a great amount of flexibility towards what is shown, as long as necessary information is not cut off. The video creator is not viewing the zoom as they are recording, and it is therefore possible that they are not recording what they think they are. An example of this happens in #13.
These features should be used when appropriate. Showing the whole window is effective when there are no additional applications running, and the video creator does not have distracting images or icons on their desktop. Zooming can be useful to draw the viewer's attention to a certain part of the screen, but can get distracting if used too much or if something important is cut off.
Directing Attention
Directing the viewer's attention to specific locations or actions on a screen may be necessary to ensure the viewer understands what is being shown. Sometimes changes on the screen are small or subtle. Simply framing the shot may not detailed enough to direct the viewer's attention. While adding additional information to the screen may briefly remind the viewer that they are watching a video, this does not tend to distract them from learning the information. Rather, it simply reminds them that watching the video is more like mimicking an action (Rose 2012, 170). There are several methods that can be used to do this.
(#5)Click Highlighting - Click highlighting emphasizes the location where the screen was clicked. The highlight will draw the viewer's eyes to that location, even if the video creator moves the mouse after clicking. Although certain software may perform an animation when a mouse click occurs, most of the time there is no visual indication that a click occurred. By having click highlighting, the viewer can know that the video creator clicked an area of the screen, even if the video creator does not explicitly mention it.
(#7)Mouse Highlighting - Mouse highlighting emphasizes the location where the mouse pointer is positioned. The mouse pointer moves throughout the screen, and can be difficult for the viewer to track. This can be especially true if the video is small, or of poor quality. Mouse highlighting can be on constantly, or used when the video creator thinks that viewers may have problems finding the mouse pointer.
(#18)Drawing on the Screen - A video creator may put icons, including arrows and boxes, onto the screen to direct the viewer's attention. They may even have the appearance of this icon be animated. This can be a useful technique as it can be used to outline buttons, or point to specific characters.
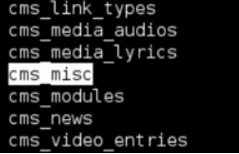
(#15)Notable Movement - The easiest way to capture the viewer's attention is simply to wiggle the mouse where the viewer should look. Motion easily captures the viewer's attention, and no extra software is needed to use this method. If the video creator is working primarily with text, highlighting the text has a similar effect, and also requires no additional software. This technique can easily be seen in the other animations on this page - the eye sees the mouse movements in each picture quickly.
(#16) Each of the above techniques has a time and a place. Mouse highlighting is not going to be useful in a video where the video creator is primarily editing text: the mouse is hardly being used. Click highlighting is not necessary if the buttons being clicked are already animated. However, when details become very important and hard to notice, such as when a single character in a line of code needs to be highlighted, directing the viewer's attention can be crucial. It is very difficult to direct the viewer's attention to one missing semi-colon without somehow emphasizing it.


 (#16) Each of the above techniques has a time and a place. Mouse highlighting is not going to be useful in a video where the video creator is primarily editing text: the mouse is hardly being used. Click highlighting is not necessary if the buttons being clicked are already animated. However, when details become very important and hard to notice, such as when a single character in a line of code needs to be highlighted, directing the viewer's attention can be crucial. It is very difficult to direct the viewer's attention to one missing semi-colon without somehow emphasizing it.